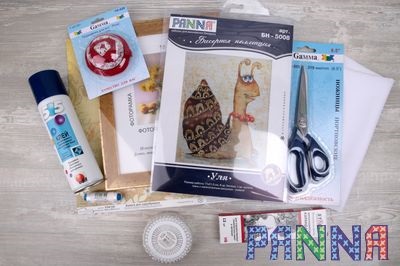
You need
- 1. Finished embroidery PANNA® Art.: BN-5008 «Ulya the Snail»,
- 2. Plastic with plexiglass frame (Size – 18 x 24 cm, Colour old gold)
- 3. Light coloured fabric for the back piece of the embroidery
- 4. Scrapbook paper
- 5. Pins
- 6. Pincushion
- 7. Polyester threads
- 8. Graphite pencil
- 9. Scissors
- 10. Temporary fabric adhesive spray
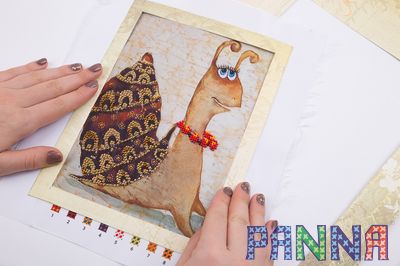
1. Take the finished embroidery out from the embroidery hoop and iron it if necessary. Iron embroidery on wrong side on a soft foundation (folded terry towel). Bead embroidery can’t be washed.

2. If finished embroidery sizes and frame sizes don’t match, you can decorate your embroidery with a ready-made passe-partout or do it yourself. Use scrapbook paper of a suitable colour and cut the sheet of the right size with the scissors. The finished embroidery size: 16,5 x 23 cm. The passe-partout size: 18 x 24 cm.

3. Measure 1.5 cm on each side of the sheet of the scrapbook paper from the outside to the inside. Cut out the inner part of the passe-partout, leaving the outer frame untouched. Put the embroidery on the passe-partout to see if everything is right.
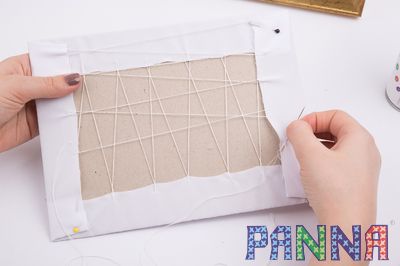
4. Take the cardboard backing out from the frame. Spray temporary fabric adhesive on the wrong side of the embroidery, put the embroidery on the cardboard backing and press it firmly.

5. Put the embroidery (stuck to the cardboard) face down. Tuck the long sides of the embroidery and attach them to the cardboard with the temporary fabric adhesive spray.

6. Tuck the short sides of the embroidery and pin the corners. Thread a needle with a heavy duty thread (or with the several regular threads) and join with tightening stitches at first the long sides of the embroidery and then the short sides. You can place your embroidery into the frame right now.
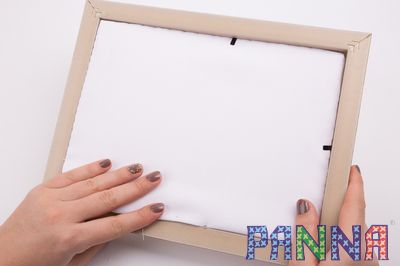
7. Many seamstresses rightly believe that a back side of a work must be as neat, as a face side. Prepare the light coloured fabric to hide the stitches on the back side of your embroidery. Cut the piece of the light coloured fabric of the right size with the scissors. The size of the back side of the embroidery: the size of the frame + 2 cm allowances.

8. Put the passe-partout on the face side of the embroidery and fix the embroidery on the cardboard backing with the passe-partout into the frame.
There is your work, nice and ready.
.jpg)
Finished but not framed embroidery dooms to gather dust in a drawer. Why not show off your hard work? Complete it, let it come out to the world and be recognized.
Back to tutorials