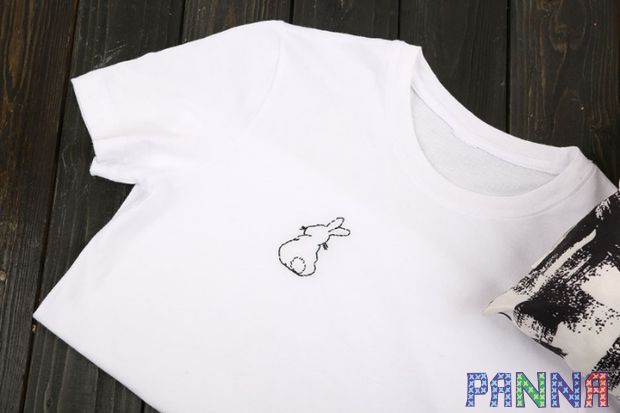
Contour embroidery on clothing «Rabbit»
How to decorate a favourite thing in a simple and easy way? Of course, make embroidery on it! Contour one! For such an embroidery type we need just to embroider only outlines of our rabbit without further filling. The work looks like as a light pencil sketch. Thanks to its simplicity, the element embroidered in such a way will look neatly on clothing of any fabric (whether it is a T-shirt, shirt, shorts or jeans). But at the same time, you can be sure that the original embroidery will certainly pay attention and make any clothing very interesting.
1. Water soluble interfacing for embroidering, not adhesive
2. Stranded cotton of black colour
3. Polyester threads of white colour
4. Embroidery hoop d 178 mm (7 ")
5. Sewing threads
6. Pins
7. Fabric pen
8. Scissors

Stitches: backstitch, straight stitch
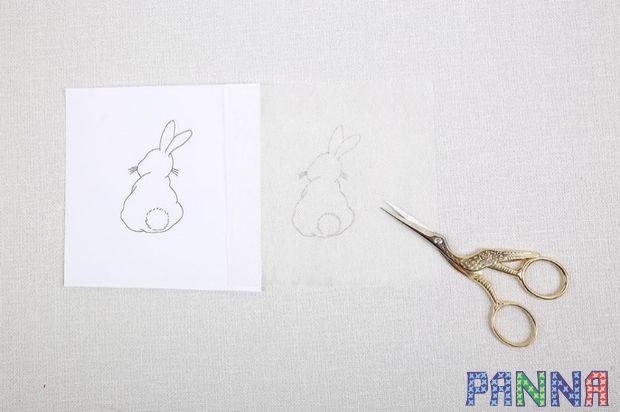
1. Print a rabbit template on a white sheet in a real size (if desired to make embroidery bigger, you can print it increasing the scale. Note that when increasing the scale, the usage of thread will increase too).
2. Put the water soluble interfacing onto the printed template. Transfer the contour with the strokes and lines onto the interfacing. Do not use gel or ball pens or black lead pencils for fabric. It is better to use tools with water soluble ink for transferring the contour or marking temporary lines.


3. Cut put the piece 10х10 cm with the outlines out of the interfacing. The fields around the outlines should be equal.
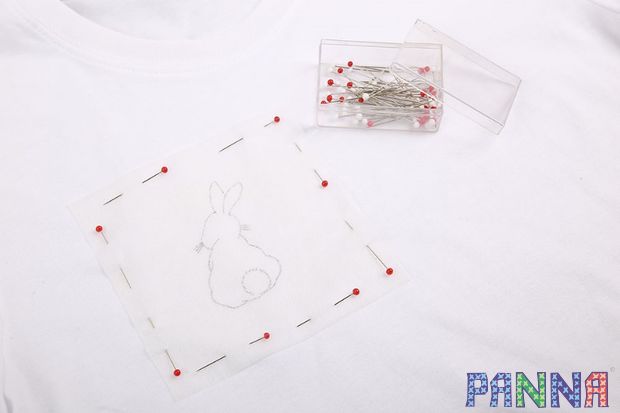
4. To choose the place for the embroidery, put the interfacing with printed guidelines over your work. Have chosen the place, pin the interfacing.
IMPORTANT: interfacing dissolves in water and gets deformed by heating. Do not expose it to water before washing the finished work! Do not iron it!
5. Baste the interfacing on the fabric with sewing threads. Make stitches along the edges of the interfacing without catching the marked outlines. Have basted, unpin the piece.

IMPORTANT: In order to avoid product deformation, fabric damage and injury risk, do not mount the base into an embroidery hoop without removing all the pins!
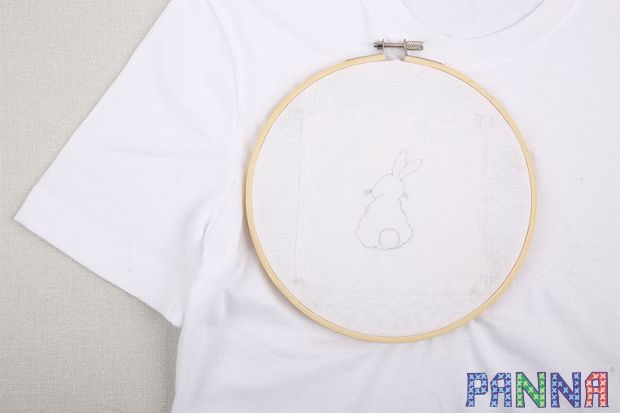
6. Mount carefully the base fabric with basted interfacing on it into the embroidery hoop to the embroidery size. Check the tension of the base: there should not be any sagging areas on the wrong side.
Tip: if there are sagging areas on the fabric, remove the basting from this area and pull the fabric base until it is stretched evenly, without touching the interfacing. Baste the water soluble interfacing back to the base.
IMPORTANT: water soluble interfacing – is thin and brittle material. Do not stretch it. Do not use an embroidery hoop of a small diameter. Do not change often embroidery hoops. Any mechanical impact on interfacing leads to irreversible damage of the material.
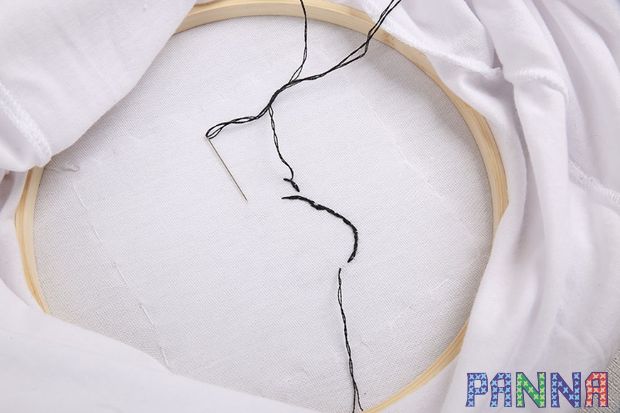
7. All the embroidery is done in 2 strands, if the base fabric is thick, or in 1 strand, if the base fabric is thin. You can choose stranded cotton of any colour you like the most – we have chosen black one for a white T-shirt. Pierce the bottom part of the outline and bring the needle with the thread onto the right side. Do not make knots on the wrong side. Leave a long end of the thread ~4-5 cm and hold it with a free hand when making the first stitches.
Tip: when embroidering, the base must be stretched evenly and not sag anywhere on the hoop.
8. Embroider the rabbit figure with backstitch. First, make the first stitch on the right side along the outline. Bring the needle up to the right side at one more length of the stitch from the wrong side. Then, step back and pierce the needle from the right to the wrong side into the same point where the first stitch is finished. At one more length of the stitch from the wrong side along the outline, bring the needle up to the right side in the next point of the outline.

9. Keep moving clockwise, alternately making backstitch on the right side and running stich on the wrong one. The stitch length on the right side is half the size of the stitch length on the wrong one. Make all the stitches only along the marked outline, following all the folds and lines of the rabbit body.

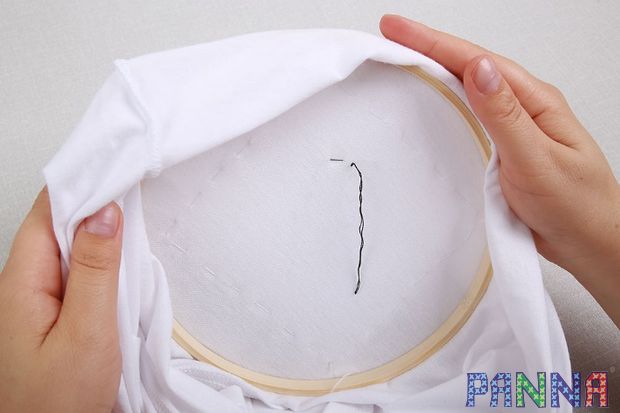
10. You should have a neat stitch on the wrong side which looks like a stem.
11. When the work thread is finished, cut off it leaving a free end of 3-4 cm on the wrong side. Insert a new thread into the needle and continue to work. Further, all the thread ends will be removed.
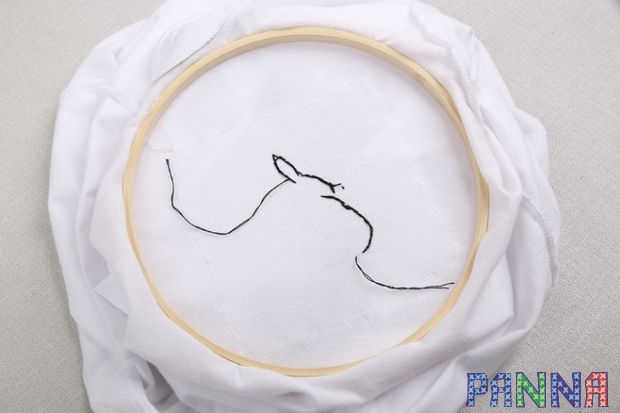
12. Embroider the entire rabbit figure along the outline. Finish the seam with the last stitch on the right side in the same point where the embroidery has been started.
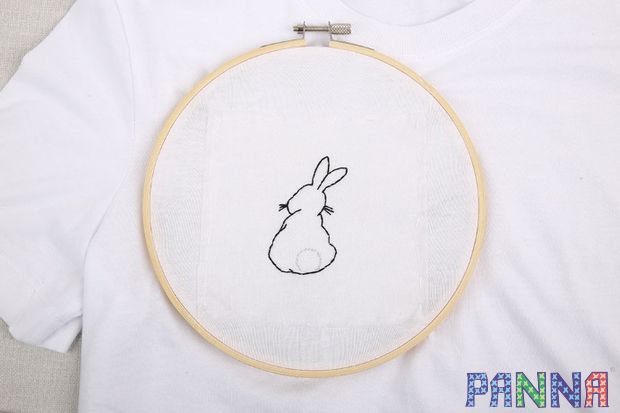
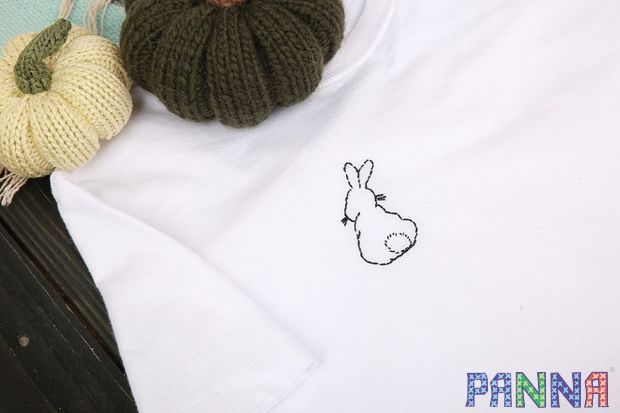
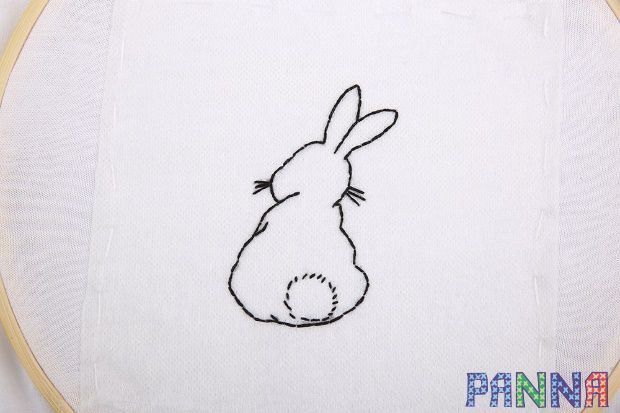
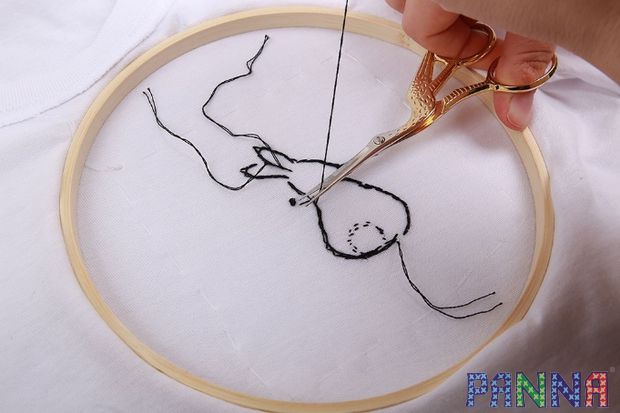
13. Embroider the whiskers and tail with straight stitches. Place them along the marked lines, following the given direction. Embroider the round tail with small stitches, imitating fluffy fur of the rabbit.

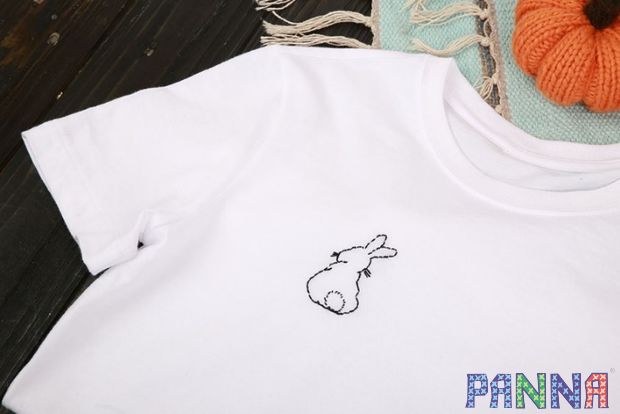
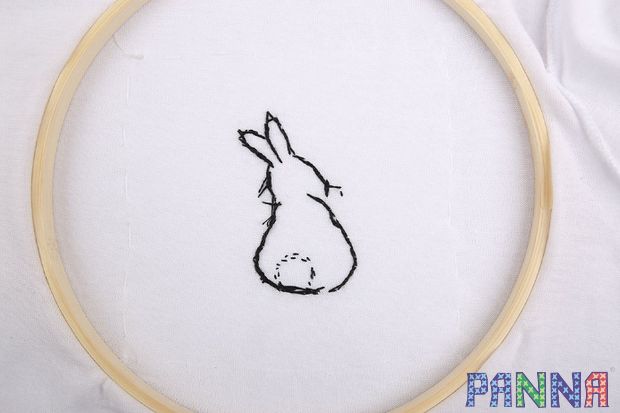
14. The right side of the embroidery is ready.
15. We need to finish the work. Pull and fasten the threads on the wrong side. For it we have left the free thread ends. Pull evenly and fasten the threads with the needle, wrapping the made stitches with them.

16. It is enough to pass each thread through 3-4 stitches and cut off the thread end.
17. Experienced needlewomen think that neatly finished wrong side of the embroidery is just as important as its right side. Especially if it is embroidery on clothing.
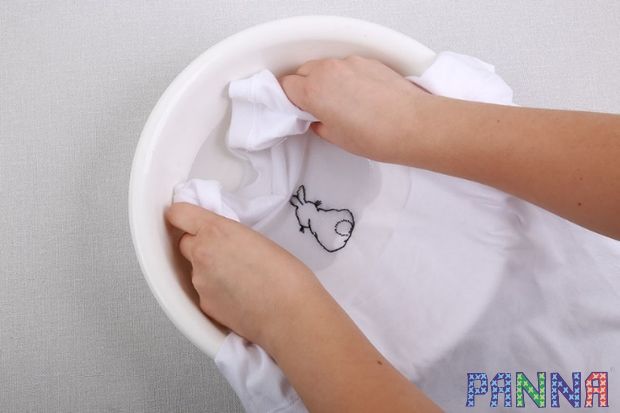
18. Once you have finished embroidering, remove the basting. Rinse your work by hand with cool water (not more than 30 °С) without using any detergent until the interfacing with printed guide lines dissolves completely.

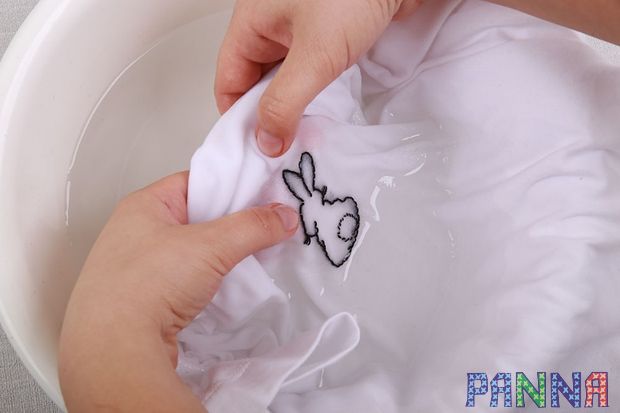
19. To ensure that the interfacing has dissolved, rub the fabric carefully with fingers around the embroidery. The Initial slippery feeling should disappear. We recommend rinsing the work one more time with cool water.
20. Dry and iron the embroidery. If on the dried work it is visible that some stitches have sagged (it is possible if stretching jersey has been mounted tightly into the embroidery hoop), you can easily fix it:
- make thread ends free on the wrong side,
- pull the stitches and fasten them again.
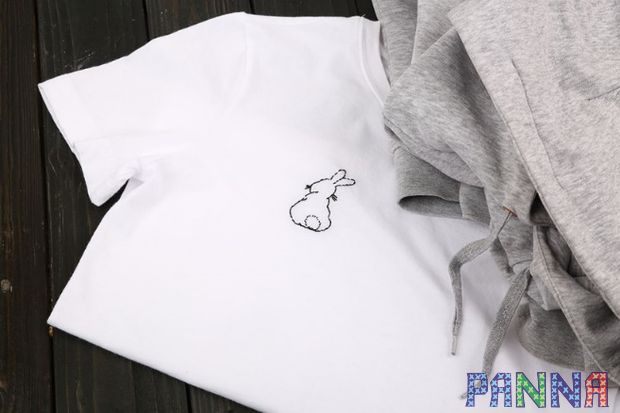
Our embroidery is ready!