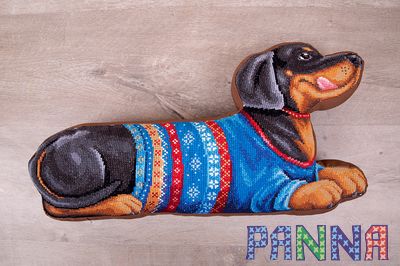
Dachshund Shaped Cushion by PANNA
Tools and materials
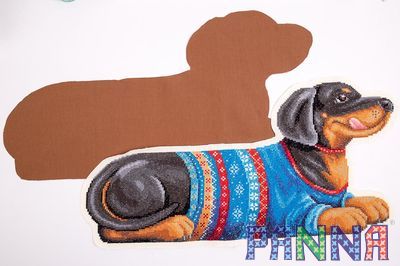
- 1. Finished embroidery, "PANNA" Art.: PD 1835 "Dachshund Cushion"
- 2. Fabric for the back piece and the side piece of the cushion
- 3. Tape measure, "Gamma" Art.: SS 150
- 4. Scissors, "Gamma" Art.: G 303
- 5. Sewing machine, "Micron" Classic 1035
- 6. Pins, "Gamma" "BLITZ" Art.: P 040
- 7. Washable fabric marker, "Gamma" Art.: RA 004 (white)
- 8. Polyester balls, "Gamma"
- 9. Needles, "Gamma" Art.: N 311 ?1 5
- 10. Polyester threads, "Gamma" Art.: 40/2 400 ? (No. 491 brown)

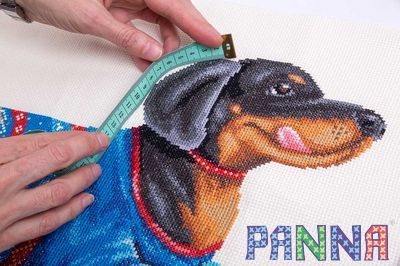
1. Measure along the contour the total length of "PANNA" Art.: PD 1835 "Dachshund Cushion" (finished) with "Gamma" Art.: SS 150 tape measure.

2. Cut the side piece of the cushion from the piece of the fabric for a back side of the cushion. Width " 7 cm (5 cm finished + 2 cm allowance). Length " the total length of the embroidery contour + 2 cm allowance.

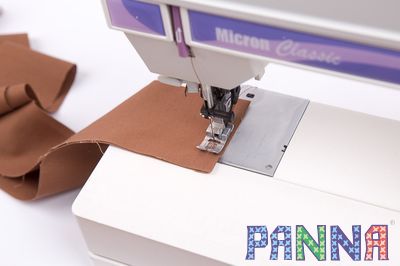
3. Fold up the side piece in the ring and machine-baste the narrow ends on "Micron" Classic 1035 sewing machine.
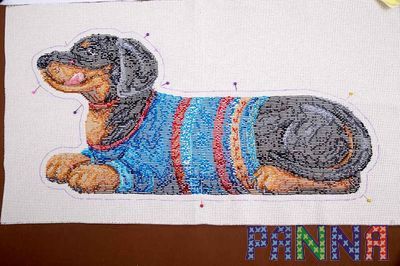
4. Put the front side embroidered piece of the fabric on the piece of the fabric for a back side of the cushion. Pin the front side fabric to the back side fabric along the embroidery contour with "Gamma" "BLITZ" Art.: P 040 pins. Outline the contour of the cushion + 1 cm allowance.
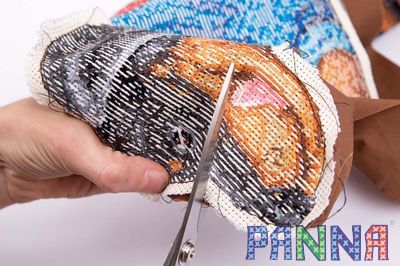
5. Cut the front side piece and the back side piece of the cushion along the outlined contour with "Gamma" Art.: G 303 scissors.

6. There are two symmetrical details of the cushion: the front side embroidered piece and the back side piece.
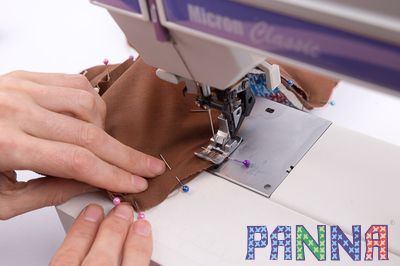
7. Pin the side piece of the cushion along the contour of the front side embroidered piece.


8. Machine-baste the side piece along the contour of the front side embroidered piece of the cushion capturing the embroidery on 1 2 mm.

9. Notch the seam allowances at the corners with the point of the notch 1 mm above the stitching line.
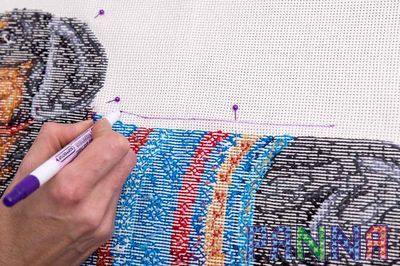
10. It is necessary to make marks along the curves on the side piece of the cushion. After stitching the side piece along the contour of the front piece mark the other edge of the side piece with "Gamma" Art.: RA 004 (white) fabric marker It helps to machine-baste the back piece of the cushion to the side piece in a right way without skewing the fabric of the finished cushion. Mind the marks carefully when the front piece fabric is different from the back piece fabric.

11. Pin or baste along the curves the back piece of the cushion to the side piece.

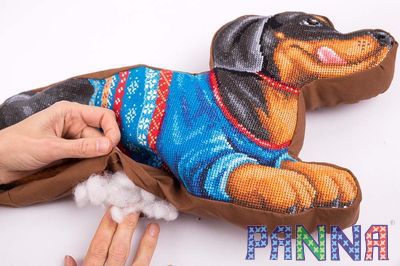
12. Machine-baste the side piece along the contour of the back piece. Leave a hole for stuffing. Notch the seam allowances at the corners before turning out to mold the curves of the front piece of the finished cushion.
13. Turn out the cushion and stuff it with "Gamma" polyester balls.
14. Using "Gamma" Art.: N 311 needle and "Gamma" Art.: 40/2 thread close the hole with blind stitches.

Your Dachshund Cushion is ready!

PD-1964 My Dragon (Cushion Front)
45.46 euro
PD-1835 Dachshund (Cushion Front)
45.46 euro