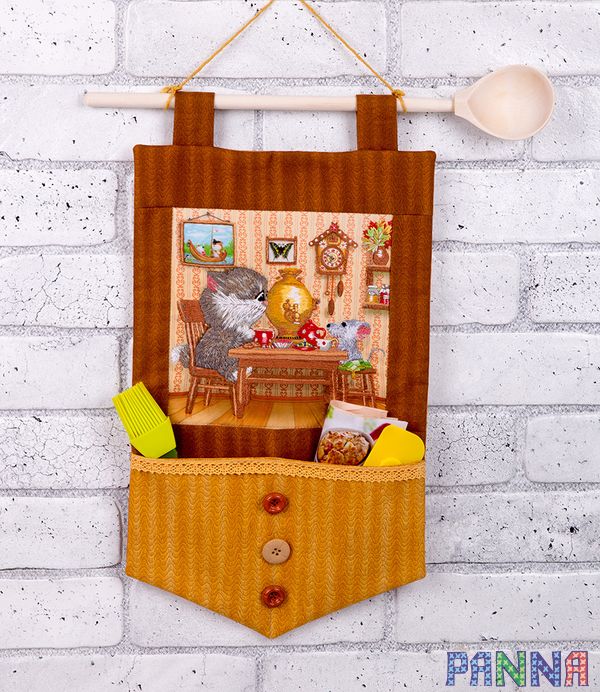
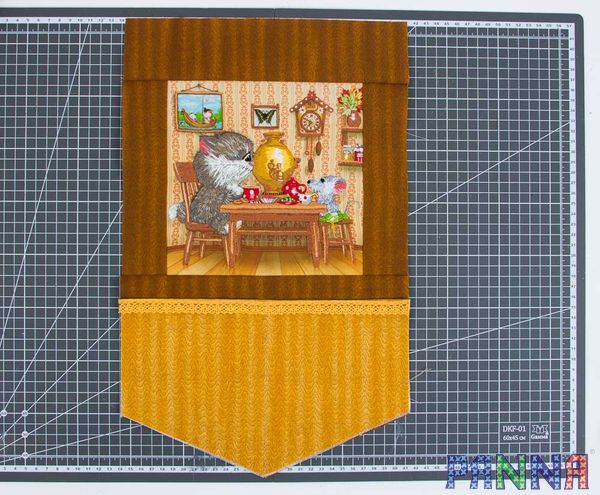
Embroidery in Sewing Projects: Wall Pocket Organiser
Since the Victorian era fabric wall pocket is known as one of the most attractive and useful home decorations. You can do it yourself easily! Follow our tutorial with detailed step by step photos and explanations and make your finished embroidery into a nice organizer framing it with patchwork fabric. Wooden spoon as a holder and a decorative cord will give a special charm to your work. This fabric wall pocket can brighten up kitchen interior or become a wonderful gift to your friend.
1. Finished embroidery PANNA “Living Picture” JK–2040 “At the Table”
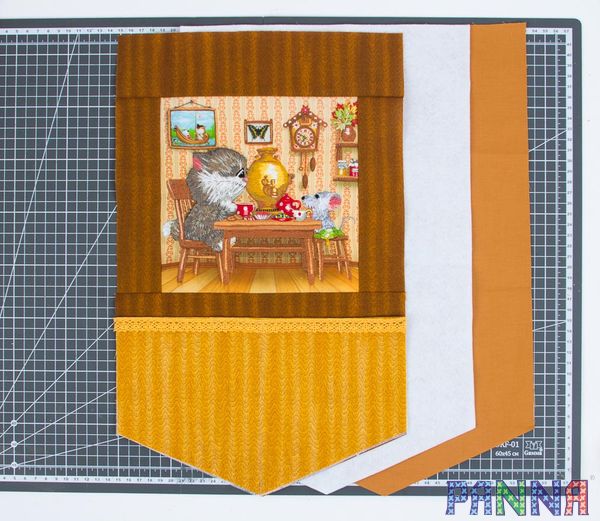
2. Patchwork fabric (brown)
3. Patchwork fabric (yellow)
4. Patchwork fabric for the back detail (plain)
5. Insulation fabric
6. Lace (yellow)
7. Fusible interfacing
8. Washable fabric marker
9. Cutting mat
10. Patchwork ruler
11. Rotary cutter
12. Scissors
13. Threads (polyester)
14. Needles
15. Pins
16. Wooden spoon
17. Decorative cord
18. Matching decorative buttons

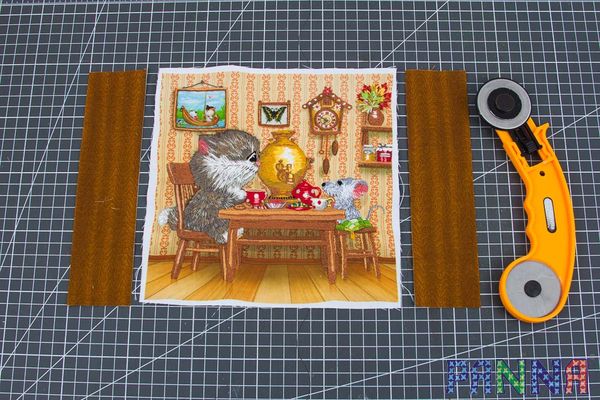
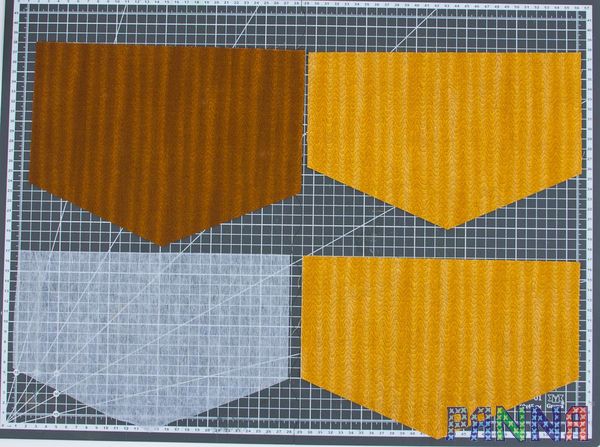
1. Cut the fabric along the contour of the embroidery + 6 mm allowance with the rotary cutter and the patchwork ruler. It is better to use the cutting mat as a working surface.

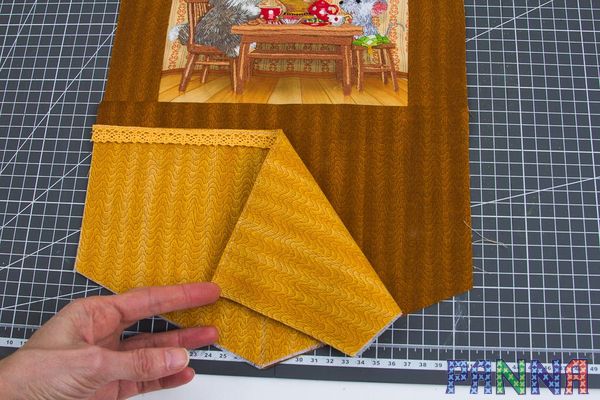
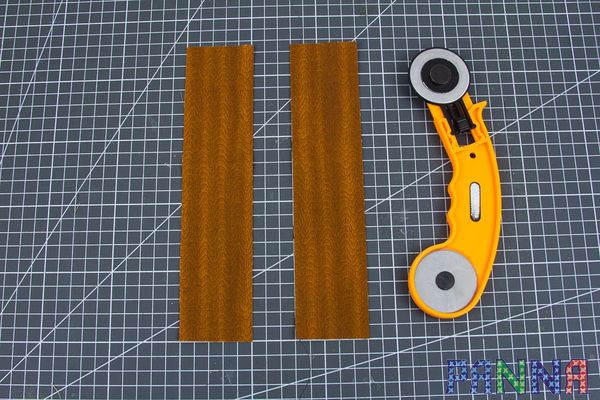
2. Cut two pieces 5 x 20 cm from the brown fabric for the side details of the frame.
3. Match the front sides of the embroidery and the side details of the frame. Machine-baste all of them.
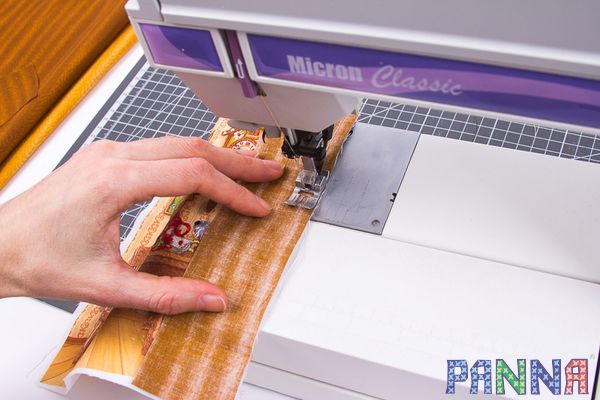
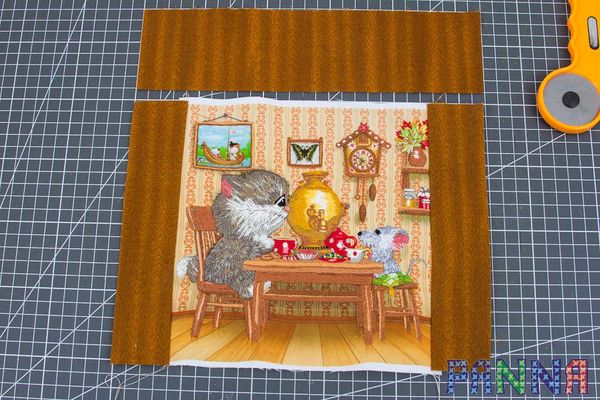
4. Cut the piece 7 x 27 cm from the brown fabric for upper detail of the frame. Match the front side of the embroidery with the front side of the upper detail and machine-baste them.
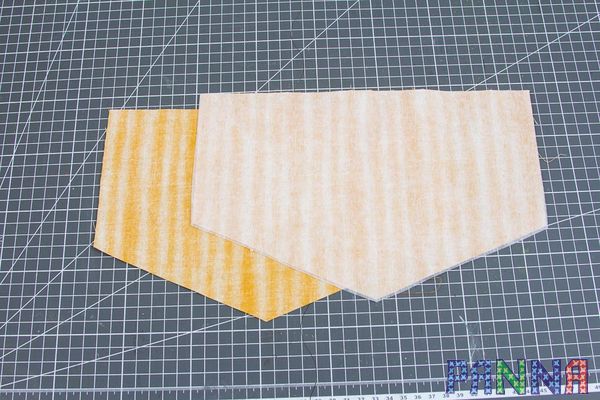
5. Cut the pieces of fabric 25 x 16 cm for the pocket details: - 1 piece from the brown fabric for the face side, - 2 pieces from the yellow fabric for the underside, - 1 piece from the fusible interfacing. Cut the corners of the details with the scissors at an angle of 45°.
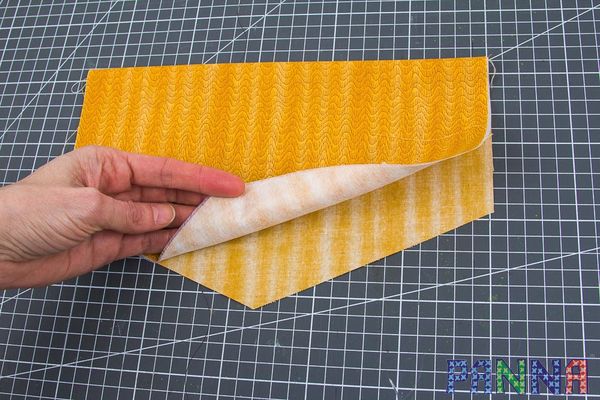
6. Match the front sides of the both yellow details of the pocket with the fusible interlining between them and machine-baste them along the upper edge.
7. Turn the face side of the pocket right side out.
8. Pin the yellow lace along the upper edge of the pocket.

9. Machine-baste the yellow lace along the upper edge of the pocket.

10. Put the face side detail of the pocket on the underside detail of the pocket. Pin the details together. Mark the line in the middle of the pocket.

11. Machine-baste the pocket along the marked line in the middle.
12. Match the upper and the lower part of the front detail of the organizer and machine-baste them + 0.5 cm allowance.

13. The front part of the organizer is ready.
14. Cut two pieces 5 x 22 cm from the brown fabric for the hanging loops. Match the front sides of the pieces and machine-baste the long edges.
15. Turn the detail right side out, press and iron the seam allowances. Cut the detail in half.

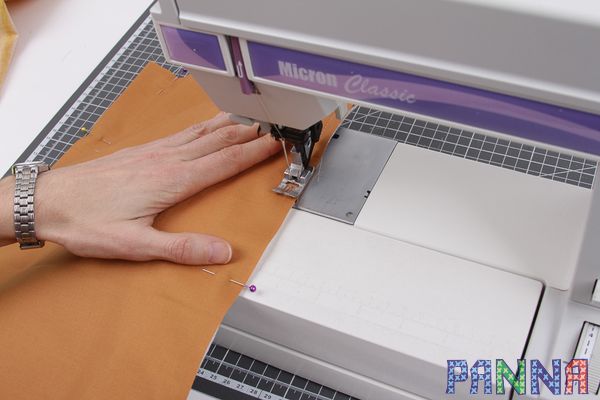
16. Cut two pieces of the fabric the same size as the front part of the organizer for the back part of the organizer. Use the plain fabric for the back part and the insulation fabric for the interlining.
17. Match the front sides of the parts of the organizer with the insulation fabric between them. Fold twice the hanging loops and put them on the upper part of the organizer between the pieces of the fabrics. Pin the organizer along the perimeter.

18. Machine-baste the front part and the back part of the organizer along the contour. Leave a hole (10 cm) for turning out.
19. Cut the corners of the seam allowances with the scissors.
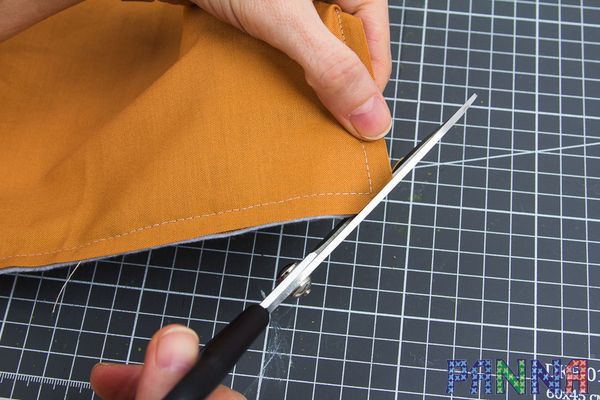
20. Turn the organizer right side out. Carefully push out the corners.

21. Close the hole in the organizer with blind stitches.

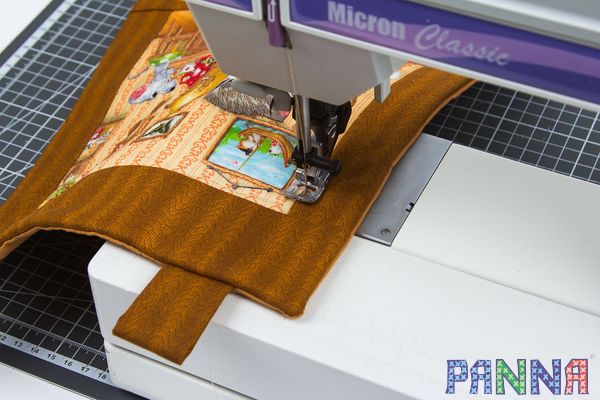
22. Iron the organizer, press and iron the seam allowances and quilt the organizer along the contour of the embroidery.
23. Slip the wooden spoon into the hanging loops and tie the decorative cord to the spoon.

24. Sew on the matching decorative buttons along the line in the middle of the pocket.

Your fabric wall pocket organizer is ready!